
How I Built an Online Store from a Spreadsheet in a Few Hours

As I was learning about and playing with AI engines capable of creating images such as DALL-E, Midjourney, or Jasper.ai, I thought about a possible way to monetize these engines. What if I could create images with AI that other people would pay for?
There are generally two aspects to such experiments in digital entrepreneurship: the business viability, and the technical feasibility. I write about the business viability of this idea elsewhere, but in this post I want to write about how I built the first version of the product with no-code tools and launched it on AIGallery.cc. This tutorial will be useful to anyone who wants to build and launch a simple online store based on product data that is managed in a spreadsheet.
In this tutorial you will learn:
- How I found a good prompt pattern for DALL-E that produced consistently good results.
- How I created an online store with full payment functionality from a list of products in a spreadsheet with a few clicks using a sheet-to-store solution
- How I automated the process of adding new digital products (in this case images) to my store by simply placing them in a folder
- How I automated the process of fulfilling an order in my online store, such that the ordered digital products get emailed to the buyer
- How I automated the process of watermarking and resizing images for display in the online store
- How I automated the process of posting on social media based on new products added to the store
- How I used a trick to put the store on a custom domain (www.aigallery.cc) even though the sheet-to-store software did not have custom domain functionality
- How I used a form builder to add a custom requests feature to my online store
Throughout this tutorial I discuss various tool options I considered for each task, but the complete stack of tools I used in the end includes: DALL-E, Dropbox, Google Sheets, Store.Link, Pabbly, Make.com, Robolly, Way.live, Tally.so, Paypal, Stripe, Gmail, Instagram, Twitter, and Pinterest.
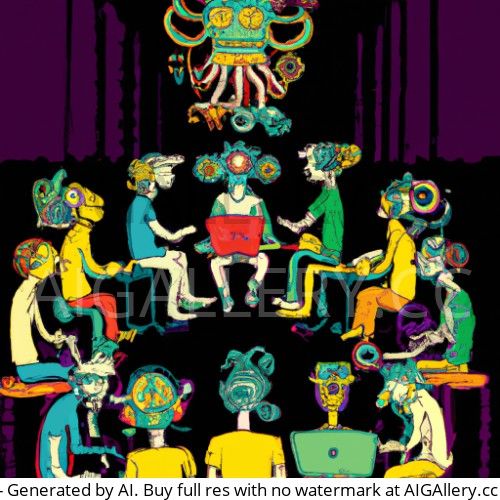
Using DALL-E to generate images people might buy
I describe in this post how I began playing with DALL-E to learn about AI-generated art and the opportunities it could bring. A key takeaway from that exercise was that I learned how important it is to design good prompts that produce usable results in these AI tools. I played around with a lot of different prompts in DALL-E, and ultimately found some patterns that produced consistently good results in terms of images that could be usable as professional stock illustrations for websites, reports, and other use cases. I was especially looking to find ways to address a pain point that I have noticed in stock images, which is a lack of diversity.
The specific prompt patterns that worked well with DALL-E to produce diversity-minded stock images were:
- "lots of colorful people sitting and thinking about ideas and working with computers, digital painting" (and you could replace "digital painting" with steampunk art, or low poly art, bauhaus art, etc.)
- "a large garden full of happy cartoon characters looking at computer screens showing colorful masterpieces, digital painting"
Here's a sample of the results:


Finding the right sheet-to-store solution
For many entrepreneurs operating at a small scale or just testing out ideas, it makes sense to manage information about your products in a simple spreadsheet. While people have been doing this for years in Microsoft Excel files, now it makes more sense to do it on the cloud using a web-based spreadsheet system like Google Sheets or Airtable. Airtable is especially useful for this kind of application, and so my first thought was to see if Airtable can directly connect to a payments platform and act like an ecommerce store. It turns out that something like this is possible as explained here, but the solution was a bit too complicated and also did not allow a cart system where people can add multiple items to their cart.
Another option is to go with a sheet-to-app solution like Glide or Softr, because they are incredibly fast and easy way to make a functional web or mobile app. However, things get a bit complicated when trying to turn them into functional stores, although it is not too difficult (example).
Ultimately however, I found a simpler solution using tools specifically made with sheet-to-store functionality in mind. I considered Apio but ultimately went with Store.link as it just gave me an incredibly easy and costless setup experience. All you have to do is manage a Google Sheet with your product information, and it updates the storefront live based on edits you make in the sheet. Not that many people know of store.link yet so I was able to get a nifty subdomain at art.store.link.
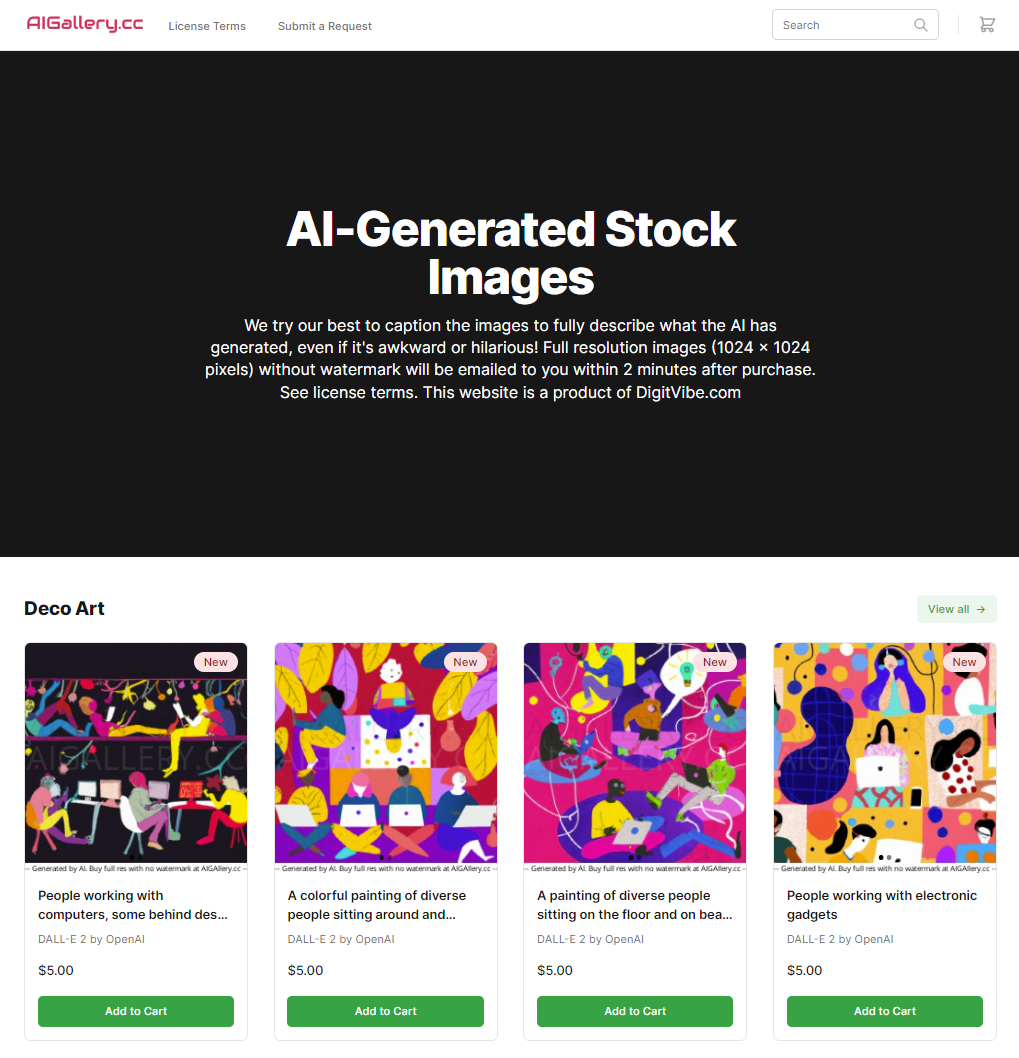
After setting this up, the next step was to make sure that the rows in my Google Sheet are the products I want them to be: the images I've generated with DALL-E.
Using Pabbly to automatically add rows to a sheet based on files in a folder
It is relatively easy to use a tool like Zapier or Make.com (formerly Integromat) to add new rows to a spreadsheet like Google Sheets or Airtable when new files are added to a folder in Dropbox or Google Drive. What most people don't know however is that there is a much cheaper alternative to Zapier or Make.com called Pabbly Connect. It can't always do exactly what Zapier or Make can do, but 90% of the time it can do the job at a fraction of the cost. Plus, it has a Lifetime plan which I love.
In my case, I ended up having to use Make.com for other things, but Pabbly was able to take care of this important step. I was easily able to set up an automation such that any new images I add to a folder in Dropbox get added as a row on the Google Sheet that is connected to my store.link store. Just use "Dropbox: New File" as the trigger step, and "Google Sheets: Add New Row" as the action step.
Using Google Sheets and Make.com to automate order fulfillment
Unfortunately store.link has no automatic order fulfilment functionality, but it does record orders in a separate sheet in Google Sheets, and I was able to work with that data to automate the order fulfilment process. It was quite a tricky task, because the format in which order data is recorded by store.link was hard to work with. For example, if someone purchased multiple items, they would all be listed in the same row. I had to use multiple complex text formatting formulas in Google Sheets to get the data into a format where every item purchased is cleanly recorded in a separate row and matched to the original dataset of products.
Once I had a clean row for every item purchased that included information on the link to the original item and the email of the buyer, it was relatively easy to set up a Make.com automation to look for new rows in the order sheet and send an email using Gmail to the buyer with the purchased item attached to the email. For this function, Make.com was much better able to check for new rows frequently and trigger an action compared to Pabbly. However, I did learn some important details in this process:
- Every time Make.com checks for new rows in a Google Sheet it is counted as an operation that is counted for your subscription plan. This could end up being costly if you want quick order fulfilment for your customers.
- If you are using regular Gmail (a gmail.com email address) rather than a Google Workplace account with a custom domain, then the Gmail connection to Make.com has to be renewed manually once every week, which is annoying.
Using Robolly to automate image processing
I needed a way to display the images in the store and on social media without giving away the full resolution image that was being sold as the product. I found a way to automatically watermark and resize the images so that this smaller watermarked version would be what people could see if they had not purchased the item. I managed to do this with a powerful graphic automation tool called Robolly.com which has been one of my top favorite Lifetime Deals that I've found through StackSocial. Alternatives to Robolly that I considered using were BannerBear and APITemplate.io, but nothing beats a good Lifetime Deal, especially when the tool is as powerful and easy to use as Robolly!
Robolly has an API that can be accessed through URL parameters. This makes it super easy to use in conjunction with tools like Google Sheets, Pabbly, or Make. All I have to do is set up the template for what I want done to an image, and Robolly can turn that template into a URL template. Then if I insert the URL of the original image into the template URL, the resulting URL is the processed image with the edits I want done to it. I specify the edits in the template editor on Robolly, and then click on the "Render" tab where I can get the URL template which Robolly calls the "Render Link."
Since every image I had was in a Dropbox folder, Pabbly was able to extract the Dropbox link to each image and save it in the Google Sheet. It was also able to insert that Dropbox link into the template URL from Robolly, and generate another link to the processed image. Here's an example of an original image and its Robolly-processed version:

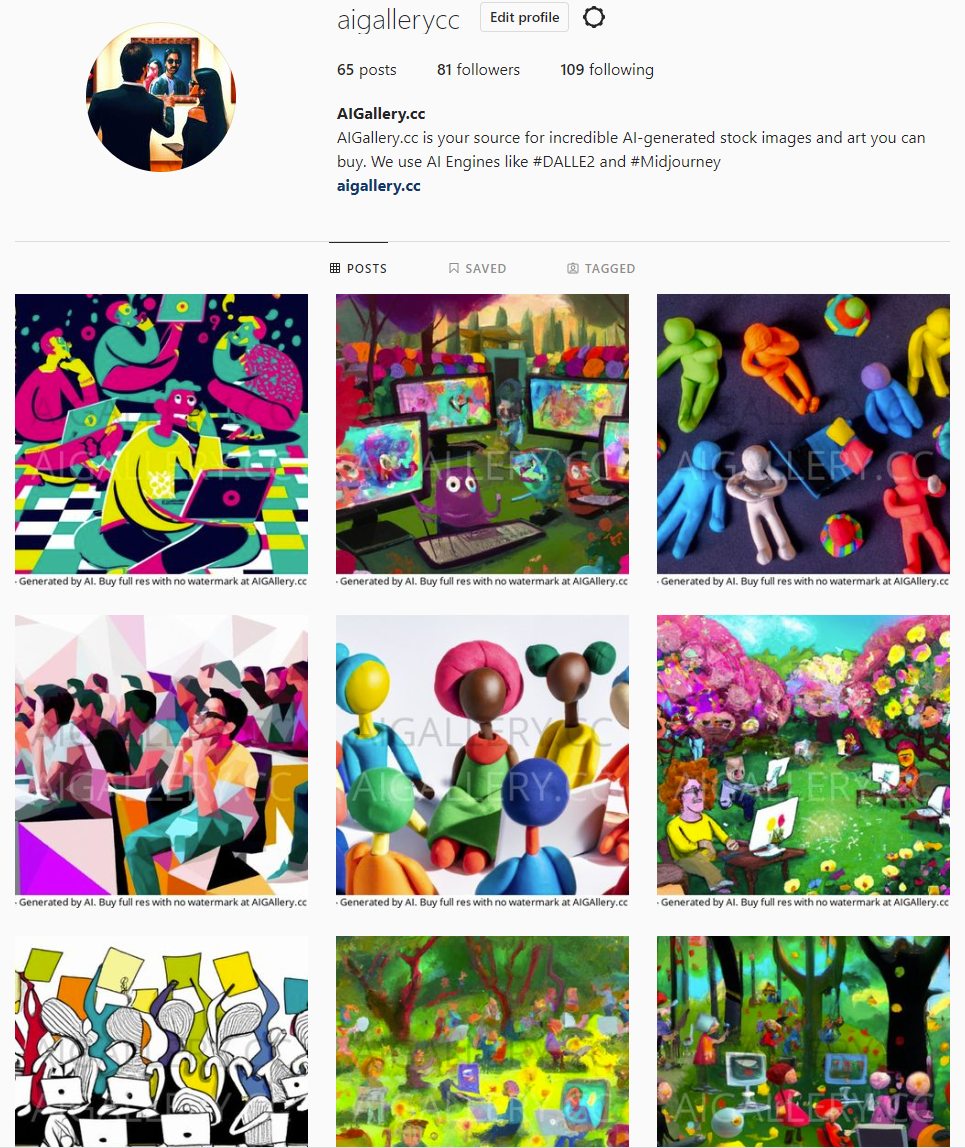
Automating social media posts about new products in the store
I used a combination of Pabbly and Make.com to automate social media posts based on the rows in my product sheet. I added a "Post to Social Media" column in my product table on Google Sheets, and I wanted any row for which I set that column to "1" to get posted on Instagram, Twitter, and Pinterest. I found that it was easier to use Make.com to make the first post on Instagram and Pabbly was able to take care of the cross-posting to Twitter and Pinterest.
Note that I could have made this step even more automatic by just setting the action to be triggered for any new row. However, I chose to set the "Post to Social Media" values manually in order to better manage the frequency of content I post and ensure that I am not running into trouble with the limits of the social media platforms. For example, Instagram only allows a maximum of 25 posts in a 24 hour period.
For these tasks, I couldn't help but notice that it would probably have been easier to do with Airtable than with Google Sheets. This is mainly because Airtable has "views" and is able to trigger API actions based on new rows in those views. I learned that Google Sheets also has a "views" functionality but it was hard to find and use, and did not trigger API actions. Nevertheless, I decided to stay with Google Sheets because store.link only works with Google Sheets.
An important lesson I learned was that systematically posting content on Instagram is quite effective in building a following. After only a few days I gained more than 80 followers.
Publishing the store on a custom domain with a trick using a landing page builder
While I was happy to get the art.store.link subdomain on store.link, I had really hoped to match my domain name to the overall branding I had planned for this project and the social media accounts I created for it. The domain I had registered was aigallery.cc and I wanted the store at art.store.link to show up at aigallery.cc.
I was able to accomplish this by using a hosted landing page builder (way.live) that I had bought from StackSocial. All I had to do was to create a blank page on way.live, link it to my domain, and embed an iframe into it with some custom html code that I found with a web search. I entered the following code in the "body" section of the html using the custom script functionality in way.live:
<iframe src="https://art.store.link/" style="position:fixed; top:0; left:0; bottom:0; right:0; width:100%; height:100%; border:none; margin:0; padding:0; overflow:hidden; z-index:999999;">
    Your browser doesn't support iframes
</iframe>
I should note though that this worked for me only because my entire store is a single-page app, and the one or two custom pages I have in there (see below) don't really need to be displayed with their own URL to the user. If I wanted to have product pages with their own URLs (store.link allows for this) this solution would not have been ideal.
Adding custom pages to the store using a form builder and this blog
Store.link allows for custom pages and the links to them are shown on the top left corner of the store page. I created one page for "License Terms" and another one for "Submit a Request" to solicit custom orders.
The License Terms page is created using this blog platform (ghost.org) as it allows me to create custom pages even if I don't want to include them in this blog's own menu. Even though the original URL for this page is on digitvibe.com, users do not see this URL and experience it as part of aigallery.cc.
The "Submit a Request" page is a simple form created with the Tally.so form builder which has come to be one of my favorites in a world inundated with form builder software.
Conclusion
This was a really fun learning experience to be able to build a fully functional online store for digital products in a matter of hours, using a simple and convenient stack of tools and pretty much zero coding (except for the small snippet I copied and pasted from web). This was just one of many possible ways to build this store with this functionality, and I'll probably try a different stack of tools next time.
Are you wondering if this was worth building at all? Does it make business sense to build such an online store for AI-generated stock images? To read about the business aspect of this entrepreneurial experiment check out this post.
Member discussion